Computer Vision Best Practice
This MLHub package provides command line tools based on Microsoft's open source Computer Vision Best Practice repository available from https://github.com/microsoft/ComputerVision. Individual command line tools are packaged for common computer vision tasks including image classification and object detection, based on a collection of pre-built computer vision models. These command line tools aim to be used as part of a Linux pipeline of image processing commands. The package also provides an interactive demonstration as an overview of the capabilities of the repository.
Giving computers some semblance of vision (and the implied ability to process the images and identify the content) has become practical with the massive compute and training data that is available today. A number of pre-built machine learning models are freely available for this task and through this package we make them available for command line scripts.
Visit the github repository for this package for more details: https://github.com/microsoft/cvbp
Quick Start Command Line Examples
$ ml demo cvbp
$ ml classify cvbp
$ ml classify cvbp https://upload.wikimedia.org/wikipedia/commons/2/2d/Koala_in_Australia.JPG
Usage
- To install mlhub (Ubuntu)
$ pip3 install mlhub
- To install and configure the package:
$ ml install   cvbp
$ ml configure cvbp
Command Line Tools
In addition to the demo presented below, the cvbp package provides useful command line tools. Below we demonstrate a number of these. Most commands take an image as a parameter which may be a url or a path to a local file.
classify
The classify command will identify the dominant object in a photo with a level of confidence. The confidence, class, pre-built model used, and filename are printed and can be piped on to other commands within a command line. This can allow us to add the class as a tag to the meta data of an image file.
This example image from the Internet is classified 100% as a koala by the default resnet152 model.
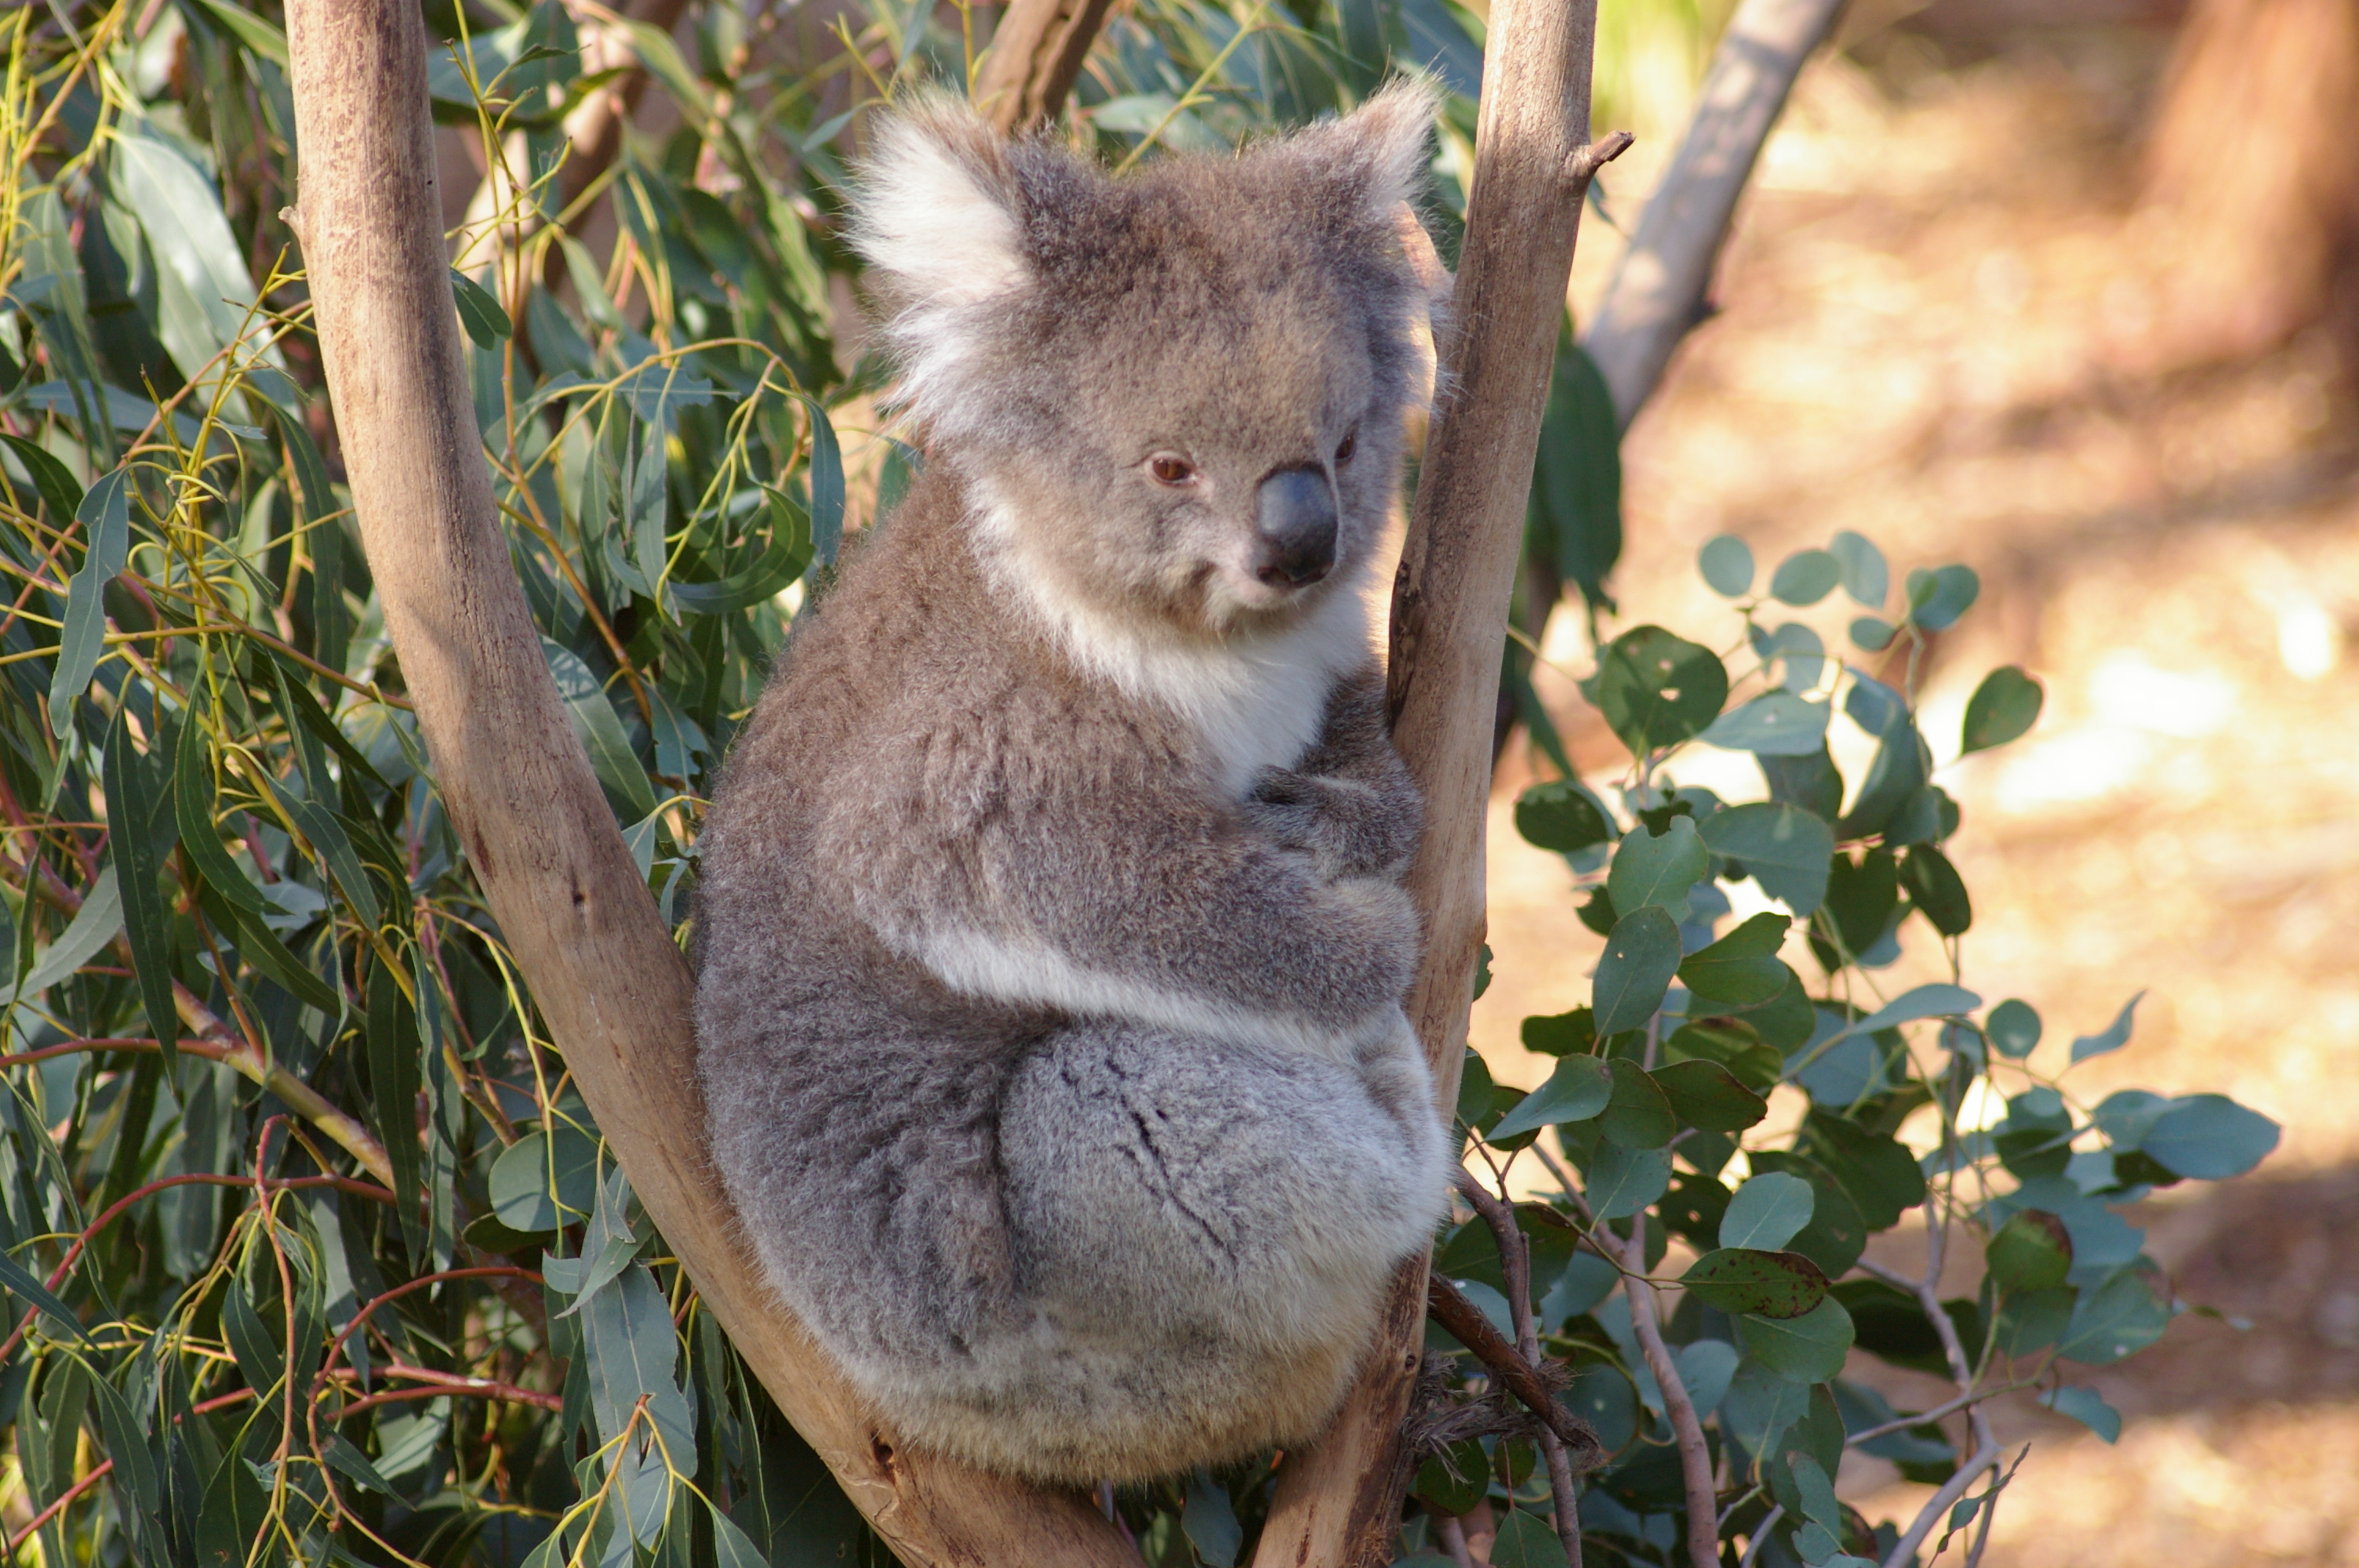
$ ml classify cvbp https://upload.wikimedia.org/wikipedia/commons/2/2d/Koala_in_Australia.JPG
1.00,koala,resnet152,https://upload.wikimedia.org/wikipedia/commons/2/2d/Koala_in_Australia.JPG
As an example of command line processing, we could download this photo (noting its license) and add the appropriate tag to it:
$ wget -O koala.jpg https://upload.wikimedia.org/wikipedia/commons/2/2d/Koala_in_Australia.JPG
$ exiftool koala.jpg | grep -i comment
$ ml classify cvbp koala.jpg |
  cut -d, -f2 |
  xargs bash -c 'mogrify -comment $0 koala.jpg'
$ exiftool koala.jpg | grep -i comment
Comment                         : koala
Coffee mugs seem to be fairly standard fare for image classification:

$ ml classify cvbp https://cvbp.blob.core.windows.net/public/images/cvbp_cup.jpg
0.68,coffee_mug,resnet152,https://cvbp.blob.core.windows.net/public/images/cvbp_cup.jpg
Different pre-built image classification models are available. Here we use a more complex model to provide a more confident classification of the coffee mug:
$ ml classify cvbp --model=resnet152 https://cvbp.blob.core.windows.net/public/images/cvbp_cup.jpg
0.85,coffee_mug,resnet152,https://cvbp.blob.core.windows.net/public/images/cvbp_cup.jpg
If no image is supplied on the command line then the computer's webcam will be used to source a live feed and any objects held up to the camera will be classified. The live classification is available within the displayed live video image.
$ ml classify cvbp
If there is more than one camera on the computer then the command may not select the best one. For example, you may have an infrared camera and a webcam on your computer. If the resulting window is all green, then the infrared camera has been chosen. To choose your webcam the use of the --webcam command line option may help:
$ ml classify cvbp --webcam=1
The --webcam command line option is also supported across other commands that use the webcam, including demo.
Multiple images can be classified with one command line:
$ ml classify cvbp images/*.png
0.98,chickadee,resnet152,images/image_01_bw.png
0.99,custard_apple,resnet152,images/image_02_bw.png
1.00,echidna,resnet152,images/image_03_bw.png
0.98,Great_Pyrenees,resnet152,images/image_04_bw.png
0.96,beacon,resnet152,images/image_05_bw.png
0.68,Maltese_dog,resnet152,images/image_06_bw.png
0.91,great_white_shark,resnet152,images/image_07_bw.png
0.13,banana,resnet152,images/image_09_bw.png
0.90,redshank,resnet152,images/image_10_bw.png
We can add a tag to photos which are classified with a confidence greater than 75%. This might allow us to later on search for photos using the photo meta-data tag.
$ ml classify cvbp images/*.png |
  awk '$1>0.75{print}' |
  cut -d, -f2,4 |
  tr ',' ' ' |
  xargs -d'\n' -n1 bash -c 'mogrify -comment $0 $1'
The default pre-built model used for classification is resent152 as note above. A collection of alternative pre-built models is available and can be accessed using the --model option. The available models can be listed with --model=list.
$ ml classify cvbp --model=list
densenet201
alexnet
densenet121
densenet161
densenet169
densenet201
resnet101
resnet152
resnet18
resnet34
resnet50
squeezenet1_0
squeezenet1_1
vgg16_bn
vgg19_bn
All models can be selected with --model=all. Note that the first time a pre-built model is utilised it will need to be downloaded from the Internet, which can take a little time.
$ ml classify cvbp --model=all images/*.jpg
0.44,espresso,densenet201,images/coffee_mug.jpg
0.73,coffee_mug,alexnet,images/coffee_mug.jpg
0.44,coffee_mug,densenet121,images/coffee_mug.jpg
0.81,coffee_mug,densenet161,images/coffee_mug.jpg
0.42,coffee_mug,densenet169,images/coffee_mug.jpg
0.44,espresso,densenet201,images/coffee_mug.jpg
0.81,coffee_mug,resnet101,images/coffee_mug.jpg
0.85,coffee_mug,resnet152,images/coffee_mug.jpg
0.68,coffee_mug,resnet18,images/coffee_mug.jpg
0.76,coffee_mug,resnet34,images/coffee_mug.jpg
0.48,coffee_mug,resnet50,images/coffee_mug.jpg
0.71,coffee_mug,squeezenet1_0,images/coffee_mug.jpg
0.68,coffee_mug,squeezenet1_1,images/coffee_mug.jpg
0.54,coffee_mug,vgg16_bn,images/coffee_mug.jpg
0.83,coffee_mug,vgg19_bn,images/coffee_mug.jpg
1.00,kite,densenet201,images/kite.jpg
1.00,kite,alexnet,images/kite.jpg
0.98,kite,densenet121,images/kite.jpg
0.99,kite,densenet161,images/kite.jpg
0.99,kite,densenet169,images/kite.jpg
1.00,kite,densenet201,images/kite.jpg
0.99,kite,resnet101,images/kite.jpg
0.88,kite,resnet152,images/kite.jpg
0.91,kite,resnet18,images/kite.jpg
0.98,kite,resnet34,images/kite.jpg
1.00,kite,resnet50,images/kite.jpg
0.75,kite,squeezenet1_0,images/kite.jpg
0.95,kite,squeezenet1_1,images/kite.jpg
1.00,kite,vgg16_bn,images/kite.jpg
1.00,kite,vgg19_bn,images/kite.jpg
Otherwise individual models can be chosen with --model=densenet201, for example.
$ ml classify cvbp --model=densenet201 images/*.jpg
0.44,espresso,densenet201,images/coffee_mug.jpg
1.00,kite,densenet201,images/kite.jpg
0.66,balance_beam,densenet201,images/yogapose.jpg
detect
The detect command, in addition to identifying objects, returns the bounding box for the objects found in the image, consisting of the left top and right bottom coordinates.
$ ml detect cvbp images/*.{jpg,png}
1.00,cup,61,59,273,244,images/coffee_mug.jpg
1.00,bird,86,56,605,761,images/kite.jpg
0.83,dog,28,100,200,186,images/image_04_bw.png
0.16,sheep,30,100,195,184,images/image_04_bw.png
0.05,cow,241,125,255,204,images/image_04_bw.png
0.74,person,89,50,193,190,images/image_06_bw.png
0.22,horse,86,48,195,193,images/image_06_bw.png
0.17,dog,106,52,193,181,images/image_06_bw.png
0.08,umbrella,6,55,236,238,images/image_07_bw.png
0.99,bird,37,31,251,246,images/image_10_bw.png
As with classify, with no argument the webcam is deployed to obtain images and to detect objects in real time.
Demonstration
$ ml demo cvbp
Contributing
This project welcomes contributions and suggestions. Most contributions require you to agree to a Contributor License Agreement (CLA) declaring that you have the right to, and actually do, grant us the rights to use your contribution. For details, visit https://cla.opensource.microsoft.com.
When you submit a pull request, a CLA bot will automatically determine whether you need to provide a CLA and decorate the PR appropriately (e.g., status check, comment). Simply follow the instructions provided by the bot. You will only need to do this once across all repos using our CLA.
This project has adopted the Microsoft Open Source Code of Conduct. For more information see the Code of Conduct FAQ or contact opencode@microsoft.com with any additional questions or comments.
Legal Notices
Microsoft and any contributors grant you a license to the Microsoft documentation and other content in this repository under the Creative Commons Attribution 4.0 International Public License, see the LICENSE file, and grant you a license to any code in the repository under the MIT License, see the LICENSE-CODE file.
Microsoft, Windows, Microsoft Azure and/or other Microsoft products and services referenced in the documentation may be either trademarks or registered trademarks of Microsoft in the United States and/or other countries. The licenses for this project do not grant you rights to use any Microsoft names, logos, or trademarks. Microsoft's general trademark guidelines can be found at http://go.microsoft.com/fwlink/?LinkID=254653.
Privacy information can be found at https://privacy.microsoft.com/en-us/
Microsoft and any contributors reserve all other rights, whether under their respective copyrights, patents, or trademarks, whether by implication, estoppel or otherwise.